Example: Setting brightness and color of FRITZ!DECT 500
The LED light FRITZ!DECT 500 is integrated into the FRITZ! home network via an encrypted DECT connection (DECT ULE).
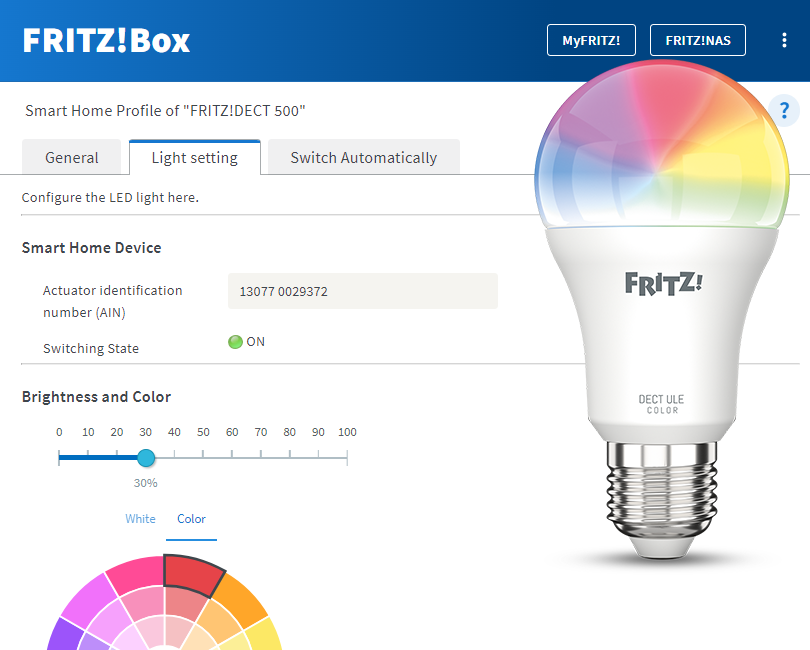
Then you can use the user interface of your FRITZ!Box to set the color, color temperature, and brightness of the LED light as well as set up an automatic switching schedule.
Requirements / Restrictions
Neither DECT repeaters from other manufacturers nor a FRITZ!Box 7390, 7270 or 7240 configured as a DECT repeater may be registered with the FRITZ!Box (under "Telephony > DECT > Monitor").
Note:All instructions on configuration and settings given in this guide refer to the latest FRITZ!OS for the FRITZ!Box.
1 Registering FRITZ!DECT 500
Switch off the lamp that you want to screw FRITZ!DECT 500 into.
Screw the FRITZ!DECT 500 into the E27 screw base of the lamp.
Click "Devices and Groups" in the "Smart Home" menu.
Select the group of devices from the drop-down list.
Click the button (Edit) for the respective device.
Click on the "General" tab.
Under "Name", enter a name of your choice.
Under "Push Service Settings", enable the option "Push service enabled" so that you receive an email if the radio connection is lost or there are errors, for example.
Enable the option "Push service enabled" so that you receive an email when important events occur.
Note:You can find information on setting up the push service in this guide.
Click "Apply" to save the settings.
Click on the "Lamp Setting" tab and configure the desired settings.
Click "Apply" to save the settings.
If you want to set up a schedule, click on the "Switch Automatically" tab and set up the desired switching.
Click "Apply" to save the settings.
The LED light is now set up and you can switch and control it in the home network and from anywhere over the internet.
 (Edit) for the respective device.
 Deutschland
 International (English)
 België (Nederlands)
 Luxemburg (Deutsch)