Baza wiedzy
AVM Content
Setting up the FRITZ!Box for use with a DSL line from Swisscom

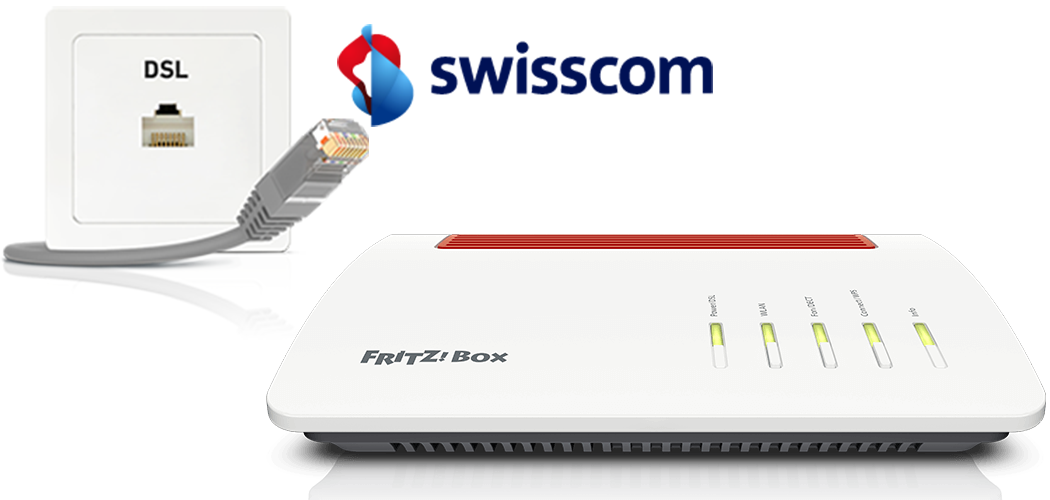
The FRITZ!Box is optimally prepared for use with a DSL line from Swisscom. Simply connect the FRITZ!Box to the DSL line and enter your personal login information in the FRITZ!Box user interface.
The complete FRITZ!Box range of functions for internet, telephony, and television (blue TV) is then available to all of the devices in your home network without restriction.
Note:FRITZ!Box 7690, 7590 AX, and other FRITZ!Box models are among the DSL modems/routers tested and approved by Swisscom (see BBCS Proved Equipment List).
Note:All instructions on configuration and settings given in this guide refer to the latest FRITZ!OS for the FRITZ!Box.
1 Connecting the FRITZ!Box with your DSL line
How to connect the cables depends on which socket your telephone socket has:
Telephone socket with LAN socket
- Use a network cable to connect the port marked "DSL" on the FRITZ!Box to the LAN socket on the telephone socket, for example use the network cable included with delivery.
Telephone socket with Reichle socket
- Insert the Reichle adapter (TT89/RJ11) into the Reichle socket of the telephone socket.
- Insert the longer end of the DSL/telephone cable (Y cable) into the "DSL" socket on the FRITZ!Box.
- Insert the gray plug of the Y-shaped cable into the Reichle adapter. Leave the black end of the cable hanging.
2 Setting the country of use
- Open the FRITZ!Box user interface.
- Enter the FRITZ!Box password given on the type label of the FRITZ!Box and click "Log In".
- Click "System" and then "Region and Language".
- Click on the "Regional Options" tab.
- Select "Switzerland" from the drop-down list.
Important:When the regional options are changed, the telephone settings (for example telephony devices, call diversion settings, dialing rules) are reset and must be reconfigured.
- Click "Apply" to save the settings.
3 Configuring the internet connection in the FRITZ!Box
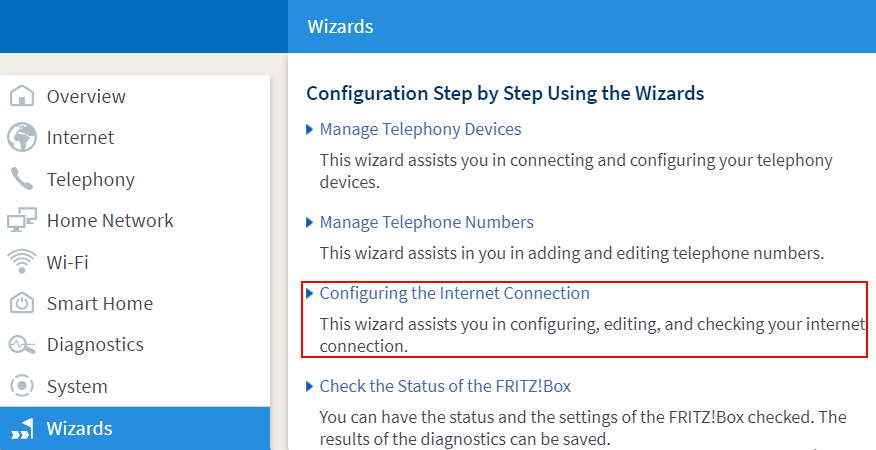
- Click "Wizards" in the FRITZ!Box user interface.
- If the wizard for internet access does not start automatically, click "Wizards" and then "Configure the Internet Connection".

Calling up the FRITZ!Box wizard - Select "Swisscom" from the drop-down list and enable the correct connection type.
- Click "Next" and follow the wizard's instructions. Configuration is complete as soon as the message "The internet connection check was successful" is displayed.
4 Registering the FRITZ!Box with Swisscom
- Call up https://swisscom.ch/start in your web browser. It may take a few minutes for the page to be shown.
- Click "Jetzt starten" and follow Swisscom's instructions. If the FRITZ!Box cannot be registered, contact Swisscom.
5 Setting up telephony in the FRITZ!Box
Requesting login information for telephony
- Ask Swisscom to send you your login information for telephony (for example username and password), via SMS as described in this guide.
Configuring telephone numbers
- Click "Telephony" in the FRITZ!Box user interface.
- Click "Telephone Numbers" in the "Telephony" menu.
- Click the "New Telephone Number" button.
- If shown, enable the option "Internet telephone number" and click "Next".
- Select "Other provider" from the drop-down list.
- Enter your telephone number including the area code (for example 41441234567) by "Telephone number for registration".
- Enter your telephone number (for example 1234567) by "Internal telephone number in the FRITZ!Box".
- Enter the login information you received from Swisscom by "Username" and "Password".
- Enter swisscom.ch in the field "Registrar".
- Enter fs1.ims.swisscom.ch in the "Proxy server" field.
- Click "Additional Settings" to display all of the settings.
- Enable the option "Use telephone number for registration".
- Click "Next" and follow the wizard's instructions.
Assigning telephone numbers
- Click "Telephony" in the FRITZ!Box user interface.
- Click "Telephony Devices" in the "Telephony" menu.
- Click the
 (Edit) button for the respective telephony device.
 Important:If the telephony device was not configured yet, click the "Configure New Device" button and follow the wizard's instructions.
- From the drop-down list "Outgoing Calls", select the number to be used by the telephony device for making outgoing calls. If you do not select a telephone number, the number entered under "Telephony > Telephone Numbers > Line Settings" is used for making calls.
- Select the telephone numbers to which the telephony device should react when you receive calls. You can select up to ten numbers (including the number for outgoing calls).
- Click "Apply" to save the settings.